Tips & Tricks|O2 XDA Exec As A 3G/GPRS Modem
Thanks to Tekflow et. al over at the xda-dev forums. I am now able to share to you how to use your Universal [O2 XDA Exec, dopod 900, and other variants] as a 3G Modem.
--
What you need:
This is for GPRS connection [but works on 3G for me atleast]
You must have from your network provider: the internet access point name, your user name and password.
Download and unzip the attached file in a folder on your desktop [look up fool!]
First off you have to have a Bluetooth enabled desktop or notebook, with the necessary Bluetooth Software [in my case it I am using a built in Bluetooth module on my MSI s262-v1 with BlueSoleil Software for more profiles]
I've attached some screenshots of my notebook and Exec whilst they were connected, not suprisingly while I was connected via USB it was faster than Bluetooth:

[Screenshot of Desktop: Connected via BT - Click to Enlarge]

[Screenshot of Exec: Connected via BT]
--

[Screenshot of Desktop: Connected via USB - Click to Enlarge]

[Screenshot of Exec: Connected via USB]
--
Now if you feel that the screen of your Exec is still too small to surf using 3G or GPRS [Stick to 3G though as it is faster than GPRS], you can connect your notebook and surf on the bigger screen :P Kewl! Again YMMV depending on your device and network coverage/performance.
--
I think these steps will work with most WindowsMobile PocketPC Phones and Desktops, try it out with your devices and let me know how it goes.
--
What you need:
- An HTC Universal and a 3G service provider.
- Proper Connection Settings [I use SMART Buddy Pre-paid SIM as it has better 3G coverage and performance than my Globe postpaid SIM].
- Wireless: Bluetooth and Accompanying Software [may be in-built or via Bluetooth USB Dongle].
- Wired: HTC USB Modem Driver [download from xda-dev - you must be logged on to download files] and USB Cable.
This is for GPRS connection [but works on 3G for me atleast]
You must have from your network provider: the internet access point name, your user name and password.
Download and unzip the attached file in a folder on your desktop [look up fool!]
1. Disconnect the device from your desktopThe Unwired Way [taken from this_mike's post, again my comments in red]
2. On the ActiveSync icon on your desktop, open "Connection Settings". Uncheck "Allow USB Connection".
3. On your device: Go to "Beam" (in Settings/Connections), and uncheck "Receive all Incoming beams". [I skipped this and it still worked]
4. Then in Programs, click on "Wireless Modem". With the Connection type on USB, click on "Start".
5. Now, connect your device to the desktop. The "Found New Hardware Wizard" starts on your desktop. Click "Install from a specific location", then "Don’t search. I will choose…", then click on "Modems", and "Have Disk…" and go to the folder where you unzipped the attached file. [select USBMDM.INF as the driver]
The HTC USB Modem will be shown in the compatible hardware: click to install. Continue if you receive the alert of the software not passing the Windows XP compatibility test (Continue anyway). Finish.
6. Now, in Control Panel of your desktop [or notebook], open "Phone and Modem Options". Select the "HTC USB Modem" and click on "Properties". In the "Advanced" tab type for "Extra initialization commands":
AT+CGDCONT=1,”IP”,”xxx”,””,0,0
where xxx is your internet access point [for SMART : AT+CGDCONT=1,”IP”,”internet”,””,0,0].
Click Ok to finish.
7. On your device (always open in the Wireless Modem program), click on Tools/Options. Check the "Preset GPRS connections" and write in the APN, your network provider internet access point. [AT+CGDCONT=1,”IP”,”internet”,””,0,0]
8. Finally, on your desktop, go to "Network Connections" and click "Create a new connection". Choose "Connect to the internet", then "Set up my connection manually". Click "Connect using a dial-up modem", then give a name to your ISP. In phone number type *99#. Get username and password from your network provider.
[I used smart as both the username and password]
Better keep a shortcut of this connection on your desktop for quick access. [optional]
Each time you want to use your device as a modem:
Disconnect your device
Disable ActiveSync from your desktop by unchecking the “Allow USB connection”
Open Wireless Modem on your device and push on Start (with the Connection Type on USB)
Connect your device, then dial from your desktop using the shortcut you created
PS: Remember to enable ActiveSync once you’ve finished [so you can still sync up your device].
First off you have to have a Bluetooth enabled desktop or notebook, with the necessary Bluetooth Software [in my case it I am using a built in Bluetooth module on my MSI s262-v1 with BlueSoleil Software for more profiles]
1. Connect from lappie to Exec on BT, choose dial-up networking, use the string from Tekflow (respect going out): [Ok, let's break this down: when you pair your Universal with your Desktop/Notebook it will definitely show that DUN (Dial-Up Networking) is available. Ditto on the respect to Tekflow!
On your Desktop/Notebook, Create a New Connection>Connect to the Internet>Setup my connection manually> Connect using a dialup modem>choose Bluetooth DUN Modem.
ISP Name: AT+CGDCONT=1,”IP”,”internet”,””,0,0
Phone Number: *99#
Username and Password: smart]
AT+CGDCONT=1,"IP","mobile.o2.co.uk","",0,0 [disregard if you are not on O2]Here is the link to the xda-dev thread [CLICK ME]
in the advanced bit. Set the phone number to *99#; username:mobileweb; password:password. [Again use smart as username and password]
2. On Exec, make a new connection (I didn't have one to start with) Manage Existing Connections > New... -> line:cellular gprs; APN:mobile.o2.co.uk; username:mobileweb; password:password; no advanced stuff. [If you have setup your device with SMART GPRS or 3G you can skip this step and go to Step 3 FYI SMART GPRS/MMS Settings are the same for 3G and GPRS; drop me an e-mail/comment if you need the CABs and are too lazy to do it manually or Google for them, I also have the CABs for Globe GPRS/MMS]
3. Connect that puppy [he means on your device select the connection (i.e. Smart Internet), tap-n-hold then choose Connect]
4. Start Wireless Modem, making sure it's a bluetooth connection. [This done on your Exec, Don't forget to tap Start]
5. On lappie, connect to the Exec via Bluetooth Settings window. [He means, Connect using Bluetooth DUN you made in Step 1]
6. Job's a good 'un. Use new connection to do this! [I dunno what this means]
I've attached some screenshots of my notebook and Exec whilst they were connected, not suprisingly while I was connected via USB it was faster than Bluetooth:
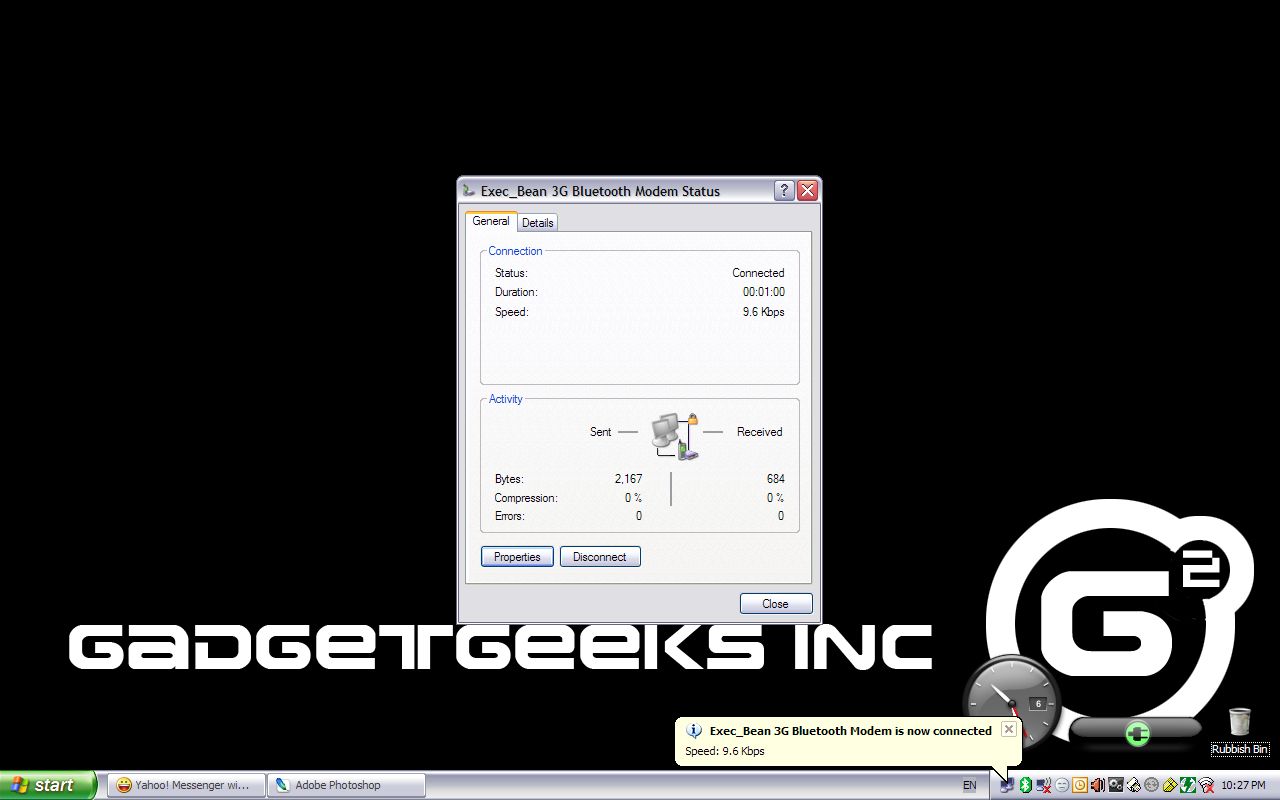
[Screenshot of Desktop: Connected via BT - Click to Enlarge]

[Screenshot of Exec: Connected via BT]
--

[Screenshot of Desktop: Connected via USB - Click to Enlarge]

[Screenshot of Exec: Connected via USB]
--
Now if you feel that the screen of your Exec is still too small to surf using 3G or GPRS [Stick to 3G though as it is faster than GPRS], you can connect your notebook and surf on the bigger screen :P Kewl! Again YMMV depending on your device and network coverage/performance.
--
I think these steps will work with most WindowsMobile PocketPC Phones and Desktops, try it out with your devices and let me know how it goes.


is this compatible for an i-mate, too? and is the 3g or gprs for free?
ReplyDelete